
I was reluctant to take up this job for the lack of experience on black, super soft paint. But the owner of this beast, a friend of mine encouraged me to do it. I was even more reluctant to post this up as I am really not satisfied with the results. But oh well...
For an intro, only 20+ units was ever produced. Has around 400 hp in stock form. The owner tuned it to 650 hp, but then detuned it down to 500 hp again until the arrival of his new turbines :)
I did this car for about 30 hours over a span of 3 days. Thus, I will divide this post into 2 parts, the cleaning, and paint correction.
This first post will be the cleaning part. Washing, claying, wheel cleaning, engine bay detailing
I am surprised to find the car in near perfect clean condition. This was the clay for the upper body of the car after claying.

Look how clean the clay bar is. Left is clay for upper body, right is clay for lower body. I felt a lot of grit being trapped by the clay. But in the end, the clay bar is not black at all. Considering that the car just came out of a paint shop, I suspect that it was stained with overspray.

The ONR solution and the second bucket of clean water after washing. Look at how clean it is. What I found is that the second bucket had some bubbles emulsified on the surface which lead me to believe that they use some pretty good tough wax. Later on, I found out that they use Swissvax.

The definition that the wax and the paint has is really, HD.

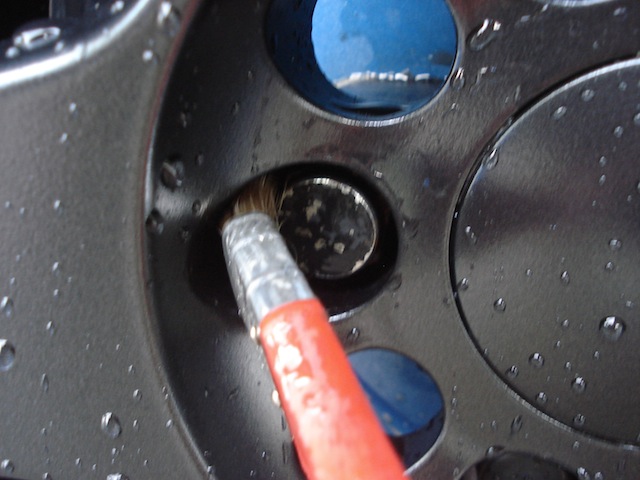
Wheel cleaning. Wheel arches, tires, wheels, lug nuts, brake calipers. By the way, the cost of the brake system alone can buy a local car.

Flat black. Just general dust.

Inner walls.


Lug nuts...

Done


The heart of the beast... Not much pictures as I was rushing. I'll go straight to before-after photos.

Valve cover before


Valve cover after


Camgears cover after. No before photos.

Radiator hose before. No after photos.

Radiator cap before

Radiator cap after

Stainless steel pipings before.

Stainless steel piping after. Not perfect as this is cleaned, but not yet polished.

Piping connections before


Piping connections after

Windshield washer fluid tank before. No after photos.

Brake fluid tank before

Brake fluid tank after

HKS fuel rail after. This is one of the most difficult parts to clean as there are many cables and sensors and serious precaution has to be taken not to wet or damage the electronic parts. Not to mention the tight cramped spaces. (Sorry no before photos)

Nismo radiator cap after. Can't do much as the sticker is peeling. Not strange for this area because of the heat.

ABS controller before

ABS controller after


SARD fuel regulator after

Brake fluid tank pipings before


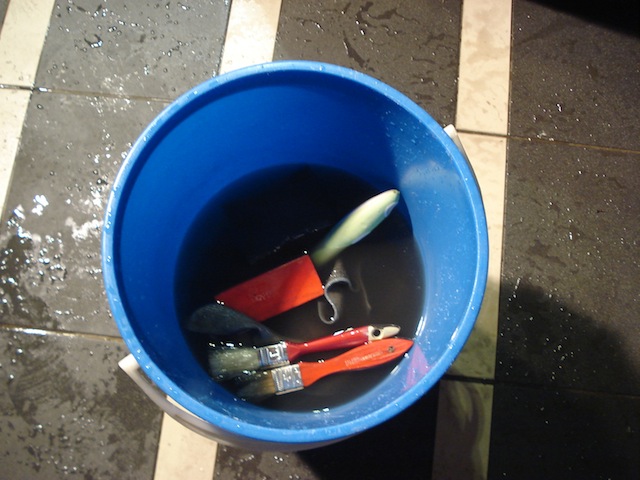
Time taken: 3 hours
Tools: a variety of brushes and cloths
Product: Optimum Power Clean in 1:3 dilution ratio
No comments:
Post a Comment